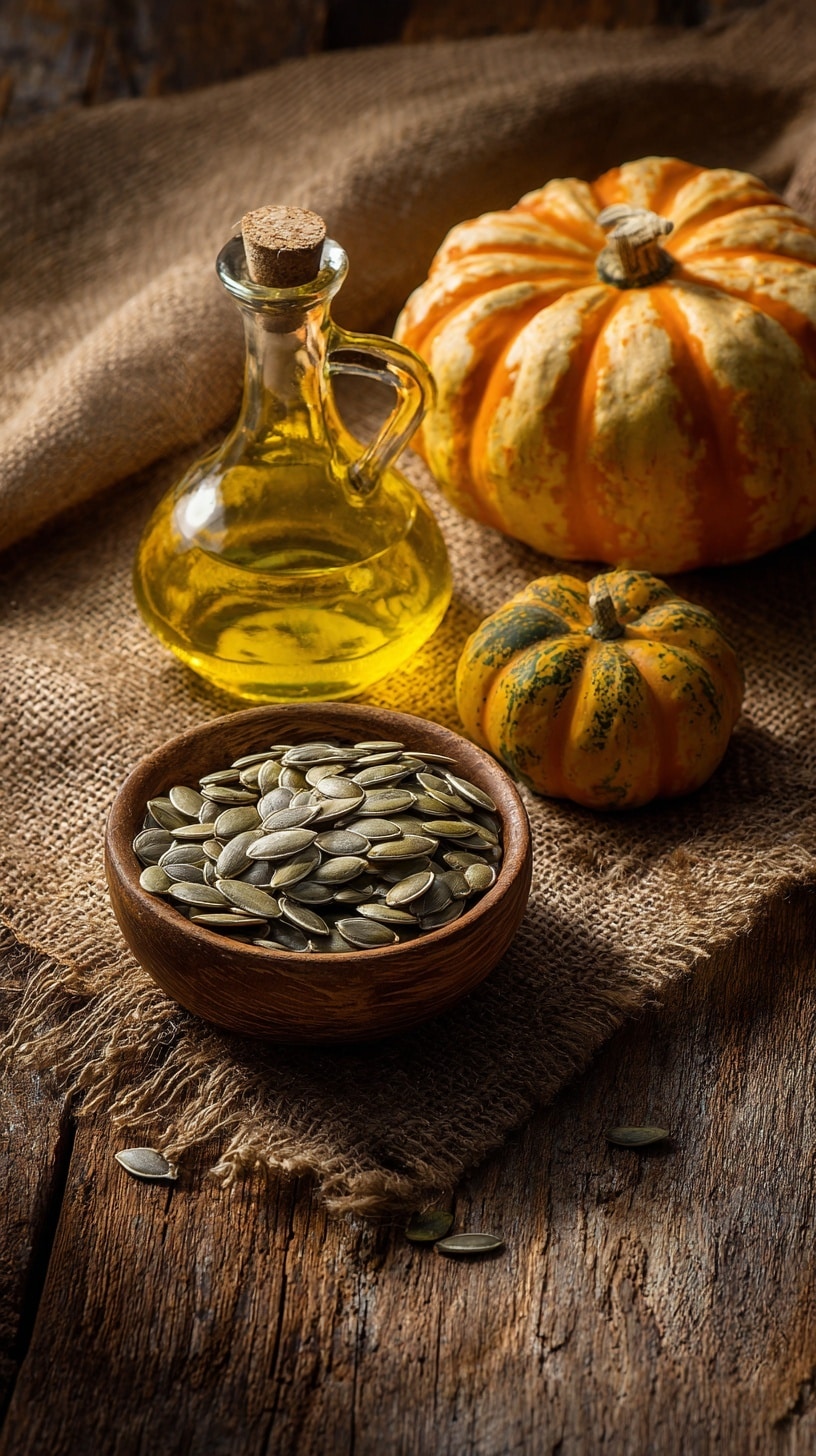
Roasted Pumpkin Seeds Recipe
Introduction
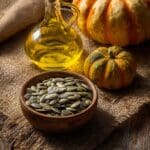
Roasted pumpkin seeds are a simple and delicious way to use up the seeds from your pumpkin. They make a crunchy snack or a flavorful garnish for salads and soups. This easy recipe brings out their natural nuttiness with just a touch of olive oil.
Ingredients
- Fresh pumpkin seeds, scooped from the pumpkin
- 2 tsp olive oil
Instructions
- Step 1: Heat the oven to 200°C (180°C fan) or gas mark 6. Wash the pumpkin seeds thoroughly to remove any pulp and stringy bits of pumpkin flesh, then dry them well using kitchen paper.
- Step 2: Place the seeds on a baking tray and toss them with the olive oil until evenly coated.
- Step 3: Roast the seeds in the oven for 10 minutes until golden and crispy. Serve plain or add a pinch of seasoning for extra flavor.
Tips & Variations
- Try sprinkling the seeds with smoked paprika, garlic powder, or chili flakes before roasting for a tasty twist.
- Make sure the seeds are completely dry before roasting to ensure they become crisp.
- If you prefer a saltier snack, add a pinch of salt after roasting while the seeds are still warm.
Storage
Store cooled roasted pumpkin seeds in an airtight container at room temperature for up to one week. To refresh their crispness, warm them in a dry pan or oven for a few minutes before serving.
How to Serve
Serve this delicious recipe with your favorite sides.
FAQs
Can I roast pumpkin seeds without oil?
Yes, you can roast the seeds without oil. They may be less crispy but still tasty. Simply spread them on a baking tray and roast as directed.
How do I remove the pumpkin pulp from the seeds effectively?
Soaking the seeds in water for a few minutes helps loosen the pulp, making it easier to separate the seeds by hand or with a colander under running water.
PrintRoasted Pumpkin Seeds Recipe
Crispy and flavorful roasted pumpkin seeds, perfect as a healthy snack or a crunchy garnish for salads and soups. This simple recipe involves washing and drying fresh pumpkin seeds, tossing them in olive oil, and roasting them to golden perfection in the oven.
- Prep Time: 10 minutes
- Cook Time: 10 minutes
- Total Time: 20 minutes
- Yield: Approximately 1 cup of roasted pumpkin seeds 1x
- Category: Snack
- Method: Baking
- Cuisine: International
- Diet: Vegetarian
Ingredients
Ingredients
- Fresh pumpkin seeds, scooped from the pumpkin (quantity: from 1 medium pumpkin, about 1 cup seeds)
- 2 tsp olive oil
Instructions
- Preheat the oven: Set your oven to 200°C (180°C fan) or gas mark 6 to ensure it reaches the right temperature for roasting the seeds evenly.
- Prepare the seeds: Thoroughly wash the pumpkin seeds to remove all the pulp and stringy bits of flesh. Use your hands to separate any stubborn pieces and then pat the seeds dry very well using kitchen paper to ensure they roast crisp.
- Toss seeds with oil: Place the cleaned and dried seeds on a baking tray, drizzle with 2 teaspoons of olive oil, then toss or stir to coat all seeds evenly with the oil.
- Roast: Spread the seeds out in an even layer on the tray and roast them in the preheated oven for 10 minutes. Keep an eye on them to avoid burning and to ensure they turn golden and crisp.
- Serve: Once roasted, season the seeds lightly with salt or your favorite seasoning if desired, then enjoy as a crunchy snack or use as a garnish for soups and salads.
Notes
- Drying the seeds well after washing is crucial for achieving a crispy texture.
- You can experiment with different seasonings like smoked paprika, garlic powder, or cinnamon for varied flavors.
- Store any leftover roasted seeds in an airtight container to keep them fresh and crunchy for several days.
- If you prefer, you can roast seeds at a slightly lower temperature for a longer time for more even roasting without burning.
Keywords: roasted pumpkin seeds, pumpkin seed snack, healthy snack, pumpkin seed garnish, easy roasted seeds