Butterfinger Balls Recipe
Introduction
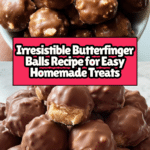
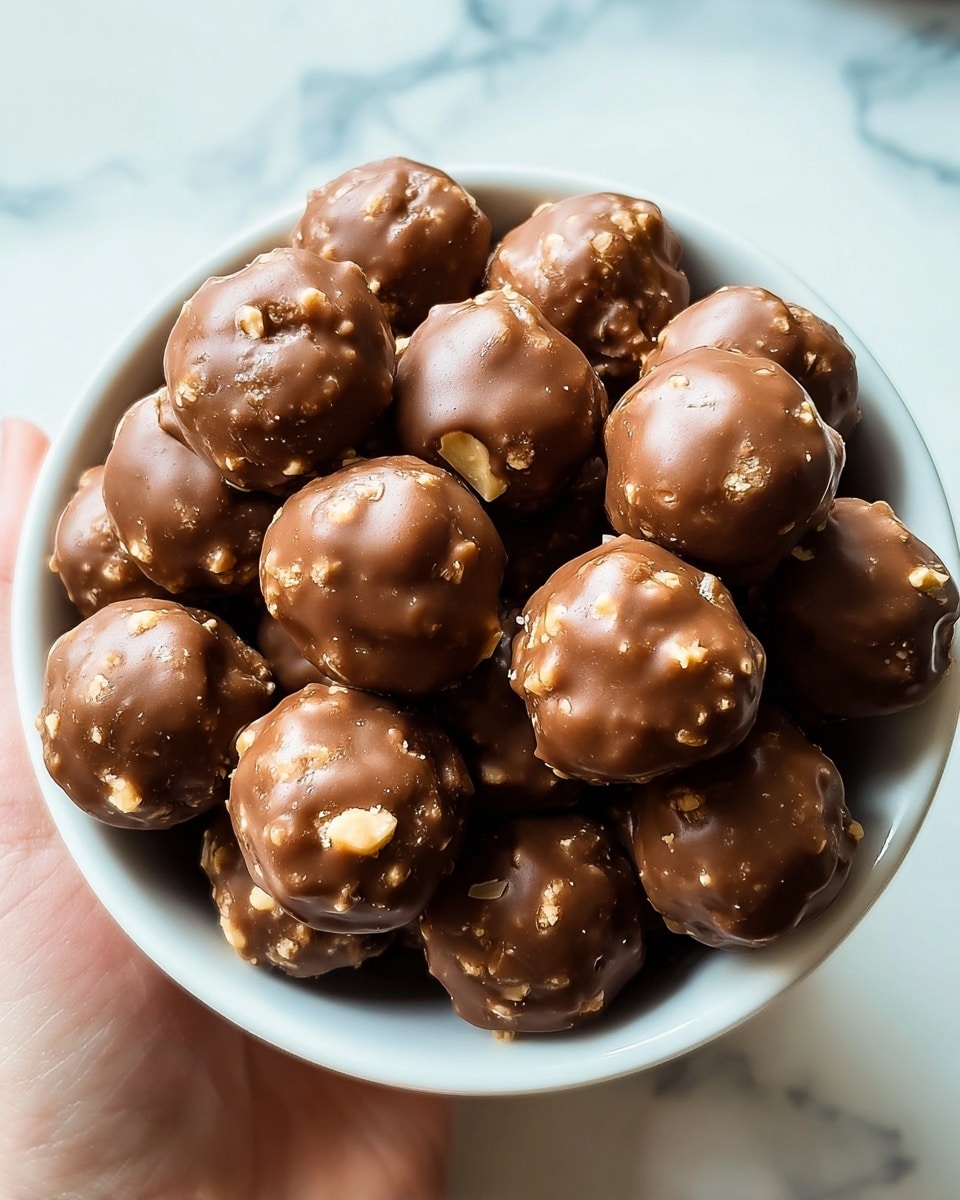
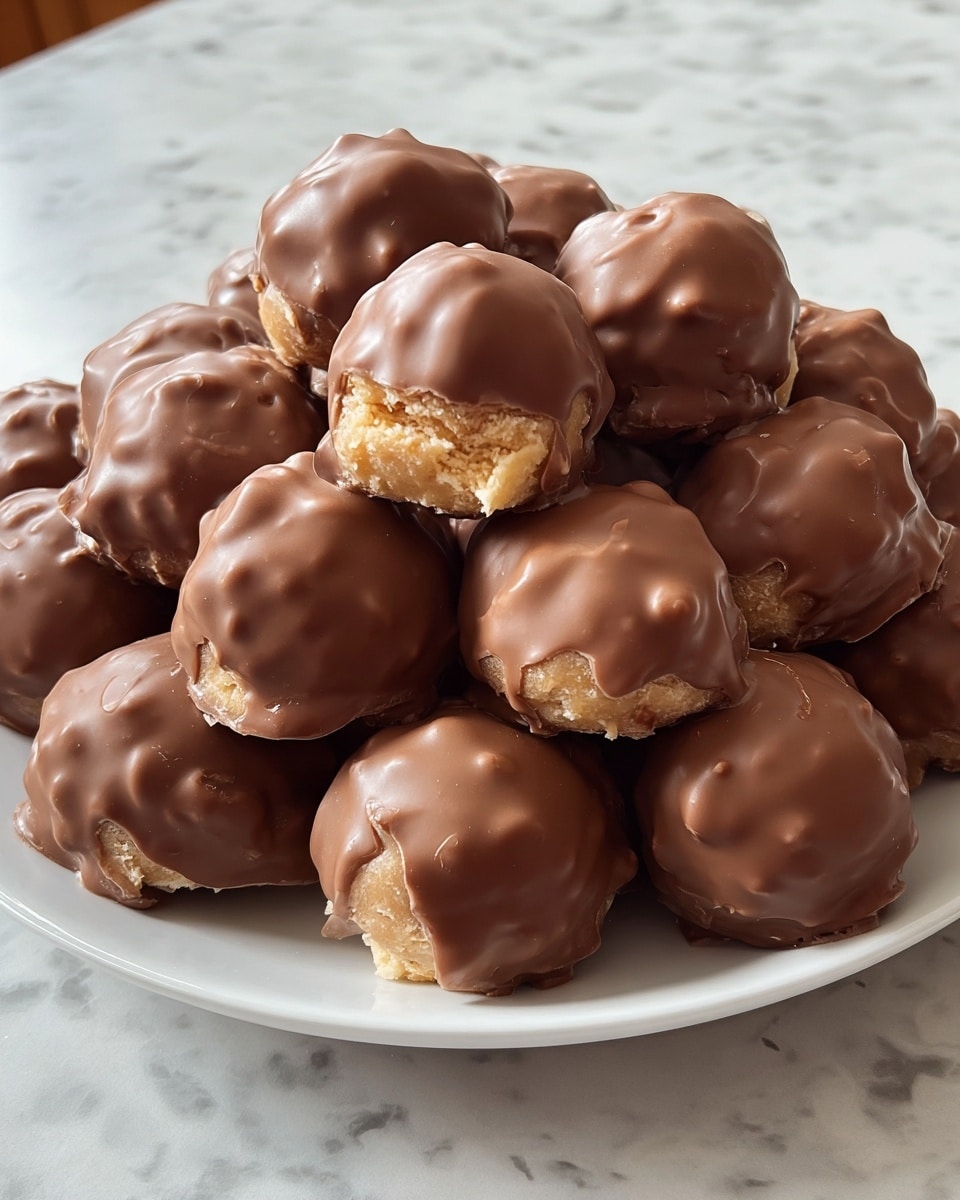
Butterfinger Balls are a delightful no-bake treat that combines creamy peanut butter with crunchy Butterfinger candy and graham cracker crumbs. Coated in rich melted chocolate, these bite-sized sweets are perfect for any occasion and simple to make at home.
Ingredients
- 4 tablespoons softened butter (½ stick)
- 1 teaspoon vanilla extract
- 8 ounces chocolate bark or chocolate chips
- ½ cup Butterfinger bars (crushed)
- 1 cup powdered sugar
- 1 cup peanut butter (avoid all-natural varieties)
- ¾ cup crumbs from graham crackers
- Optional garnishes: additional crushed Butterfinger bars, festive sprinkles, or coarse sea salt
Instructions
- Step 1: In a mixing bowl, combine the peanut butter and softened butter. Use an electric or stand mixer set to medium speed and blend until the mixture is creamy and uniform.
- Step 2: Add the vanilla extract and blend thoroughly.
- Step 3: Gradually add the powdered sugar in increments, blending at low speed. Scrape down the sides of the bowl to ensure even mixing.
- Step 4: Gently fold in the graham cracker crumbs and crushed Butterfinger bars until well combined.
- Step 5: Line a large cookie sheet with parchment paper. Scoop out about 1 to 1½ tablespoons of the dough, roll into balls, and place on the cookie sheet.
- Step 6: Freeze the dough balls on the sheet for about 30 minutes until completely firm.
- Step 7: Melt the chocolate in a microwave-safe bowl by heating in 30-second intervals at 50% power, stirring between each. Leave some lumps that will melt as you stir to avoid overheating.
- Step 8: Dip each chilled ball into the melted chocolate, coating fully or partially as you prefer.
- Step 9: Sprinkle with additional crushed Butterfinger bars, festive sprinkles, or flaky sea salt for decoration.
- Step 10: Let the chocolate harden completely before serving and enjoying.
Tips & Variations
- Use a peanut butter that is creamy and contains stabilizers to help the balls hold their shape better.
- For a festive touch, try adding holiday-themed sprinkles or a pinch of sea salt on top.
- If you prefer a nut-free version, substitute peanut butter with a sunflower seed butter.
- Chill the dough balls longer if your kitchen is warm to prevent melting when coating with chocolate.
Storage
Store Butterfinger Balls in an airtight container in the refrigerator for up to one week. For longer storage, freeze them for up to one month. Let refrigerated or frozen balls come to room temperature for about 10 minutes before serving. Reheat gently if needed to soften the chocolate slightly.
How to Serve
Serve this delicious recipe with your favorite sides.
FAQs
Can I use natural peanut butter for this recipe?
It’s best to avoid all-natural peanut butter as it tends to be oily and less stable, which can affect the texture and shape of the Butterfinger Balls.
How do I prevent the chocolate from seizing while melting?
Heat the chocolate slowly at 50% power in short intervals, stirring frequently. Avoid adding water or steam, which can cause the chocolate to seize.
PrintButterfinger Balls Recipe

Butterfinger Balls are a delicious no-bake treat that combines creamy peanut butter, crunchy Butterfinger candy pieces, and a smooth chocolate coating. These bite-sized delights are perfect for festive occasions or anytime you crave a sweet and crunchy dessert. Easy to prepare and requiring just a few ingredients, these candy balls are sure to satisfy Butterfinger lovers with every bite.
- Prep Time: 15 minutes
- Cook Time: 0 minutes
- Total Time: 45 minutes
- Yield: About 24 Butterfinger Balls 1x
- Category: Dessert
- Method: No-Cook
- Cuisine: American
Ingredients
Base Mixture
- 4 tablespoons softened butter (½ stick)
- 1 cup peanut butter (avoid all-natural varieties)
- 1 teaspoon vanilla extract
- 1 cup powdered sugar
- ¾ cup graham cracker crumbs
- ½ cup Butterfinger bars, crushed
Coating
- 8 ounces chocolate bark or chocolate chips
Optional Garnishes
- Additional crushed Butterfinger bars
- Festive sprinkles
- Coarse sea salt
Instructions
- Prepare the Dough: In a mixing bowl, combine the peanut butter and softened butter. Use an electric or stand mixer set to medium speed and blend until the mixture is creamy and uniform.
- Add Aromatic Notes: Incorporate the vanilla extract into the mixture and blend thoroughly to evenly distribute the flavor.
- Sweeten the Deal: Gradually add the powdered sugar in increments, blending at a low speed. Make sure to scrape down the sides of the bowl between additions to ensure even mixing.
- Crunch Time: Gently fold in the graham cracker crumbs and crushed Butterfinger bars, ensuring an even distribution of crunch throughout the dough.
- Shape ’em Up: Line a large cookie sheet with parchment paper. Scoop out approximately 1 to 1½ tablespoons of the dough, roll it into neat balls with your hands, and place them on the prepared cookie sheet.
- Chilling Phase: Freeze the dough balls on the cookie sheet for about 30 minutes or until they are completely firm and easy to handle for dipping.
- Melting the Chocolate: Once the dough balls are chilled, place the chocolate bark or chips into a microwave-safe bowl. Heat in 30-second intervals at 50% power, stirring well between each interval. Stop heating when the chocolate is mostly melted with a few lumps remaining as they will melt with stirring.
- Coat and Decorate: Submerge each chilled peanut butter ball into the melted chocolate to coat fully or partially according to your preference.
- Finishing Touches: Sprinkle additional crushed Butterfinger bars, festive sprinkles, or a dash of flaky sea salt over the freshly coated chocolate before it sets to add texture and visual appeal.
- The Grand Finale: Allow the coated Butterfinger balls to sit at room temperature or in the refrigerator until the chocolate is completely set and hardened before serving or storing.
Notes
- Use creamy peanut butter (not the all-natural kind) to help with binding and consistency.
- Freezing the balls before dipping ensures they maintain their shape during the chocolate coating process.
- Be careful not to overheat the chocolate when melting to avoid burning or seizing.
- These treats can be stored in an airtight container in the refrigerator for up to one week.
- Optional garnishes add both flavor and visual interest—feel free to customize with your favorite toppings.
Keywords: Butterfinger Balls, Peanut Butter Treats, No-Bake Dessert, Chocolate Coated Candy Balls, Holiday Treats