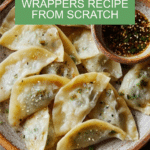
Dumpling Wrappers Recipe
Introduction
Making your own dumpling wrappers at home is rewarding and surprisingly simple. These thin, tender wrappers provide the perfect foundation for your favorite dumpling fillings, giving you full control over the texture and size.
Ingredients
- 320 grams all-purpose flour (2 1/4 cups using dip-and-sweep method; 2 2/3 cups using spoon-and-sweep method)
- 175 grams (3/4 cup/175ml) very warm water (110ºF to 130ºF)
Instructions
- Step 1: Pour all the flour and warm water into a mixing bowl. Stir together using chopsticks or a wooden spoon until all the water is absorbed and shaggy dough starts to form.
- Step 2: Use your hands to gather the dough, digging into it with your fingers in a claw-like motion to evenly distribute moisture.
- Step 3: Knead the dough on a clean surface for 2 to 3 minutes. It should be slightly tacky but not sticky. If sticky, dust the surface with a little flour and knead it in.
- Step 4: Form the dough into a smooth ball, then place it back in the bowl and cover with a damp towel or silicone lid.
- Step 5: Let the dough rest for at least 20 minutes; ideally 45 minutes for a more supple texture that’s easier to roll.
- Step 6: Remove the dough and knead a few times. Create a hole in the center with your finger, then stretch and rotate it into a large ring.
- Step 7: Cut the dough with a sharp knife or bench scraper into a thick rope and roll it until about 1 1/2 inches in diameter.
- Step 8: Cut 5 small pieces from the rope, each weighing about 12 to 13 grams (1 tablespoon). For larger wrappers, use 14 to 16 grams per piece. Return the remaining rope to the bowl and cover.
- Step 9: Roll each piece into a ball, then flatten it into a disc about 1 1/2 inches in diameter. Lightly dust with flour.
- Step 10: Using a rolling pin held in your right hand, roll over the entire disc surface then roll off the edge without lifting. Rotate the disc 90 degrees with your left hand and repeat this two more times for two full revolutions. Dust with flour if sticking occurs.
- Step 11: On the third revolution, roll only halfway before rotating to keep the center thicker than the edges, preventing tearing. Continue for 1 to 2 revolutions.
- Step 12: For the final revolution, roll only around the edges (about 1/2 inch). The finished wrapper should be 3 1/4 to 3 1/2 inches in diameter (larger wrappers can be about 3 3/4 inches).
- Step 13: Lightly brush flour over the wrapper, set aside, and cover with a dry towel. Repeat rolling for the other 4 discs, then use the 5 wrappers immediately for dumplings.
- Step 14: Since dumpling wrappers dry out quickly, avoid rolling more than 5 at a time if working alone to maintain freshness.
- Step 15: To store, roll out the wrappers, brush them with potato starch or tapioca starch, stack, and tightly wrap in plastic wrap. Place in an airtight container. Refrigerate up to 2 days or freeze up to 1 month, preventing freezer burn.
Tips & Variations
- For best results, use very warm water between 110ºF to 130ºF to help hydrate the flour fully and develop elastic dough.
- If you prefer an easier method, a stand mixer with a dough hook can knead the dough instead of hand kneading.
- Use potato starch or tapioca starch instead of flour when dusting wrappers for stacking; it helps prevent sticking without altering texture.
- Adjust dough piece size depending on how large you want your dumplings—larger pieces yield bigger wrappers.
Storage
Store freshly rolled wrappers by brushing with starch, stacking, wrapping tightly with plastic, and placing in an airtight container. Refrigerate for up to 2 days or freeze up to 1 month. When ready to use from frozen, thaw in the refrigerator before handling. Avoid leaving wrappers uncovered to prevent drying and cracking.
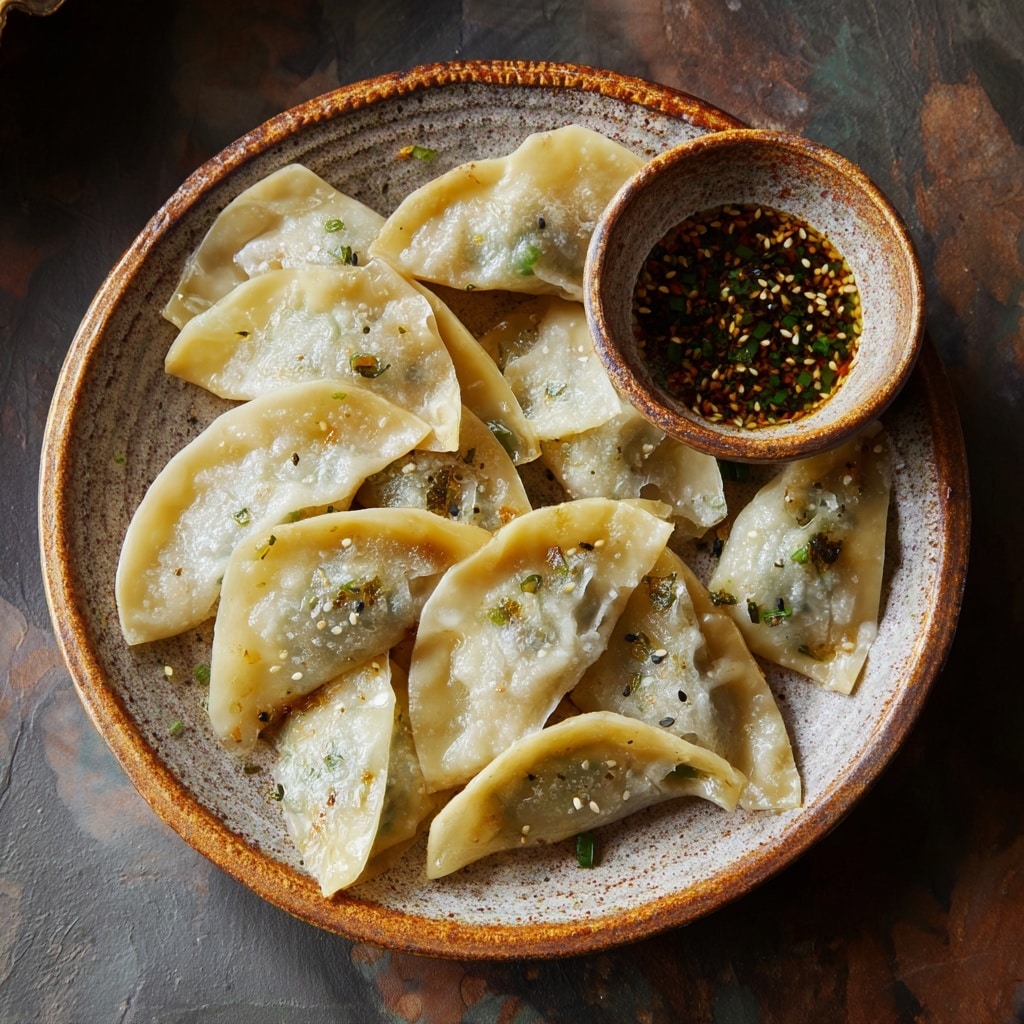
How to Serve
Serve this delicious recipe with your favorite sides.
FAQs
Can I use cold water instead of warm water?
Warm water helps soften the dough and activates gluten development. Using cold water will make the dough less elastic and harder to roll out smoothly.
How thin should the dumpling wrappers be?
The wrappers should be thin enough to be tender but still sturdy enough to hold filling without tearing. Aim for about 3 1/4 to 3 1/2 inches in diameter with a slightly thicker center to prevent breaks.
PrintDumpling Wrappers Recipe

This Dumpling Wrappers Recipe guides you through making delicate and supple dumpling skins from scratch using just all-purpose flour and warm water. The dough is mixed, kneaded, rested, and rolled out into perfect round wrappers ideal for making homemade dumplings. The method allows for flexible resting times and provides tips for storing wrappers safely for later use.
- Prep Time: 10 minutes
- Cook Time: 0 minutes
- Total Time: 1 hour
- Yield: Approximately 20 dumpling wrappers 1x
- Category: Dough/Wrapper Preparation
- Method: Stovetop
- Cuisine: Chinese
Ingredients
Ingredients
- 320 grams all-purpose flour (2 1/4 cups using dip-and-sweep method; 2 2/3 cups using spoon-and-sweep method)
- 175 grams (3/4 cup/175ml) very warm water (110ºF to 130ºF)
Instructions
- Mix Flour and Water: Pour all the flour and warm water into a mixing bowl. Stir with chopsticks or a wooden spoon until the water is fully absorbed and a shaggy dough forms.
- Gather Dough: Use your hands to gather the dough together, digging into it with a claw-like motion to distribute moisture evenly.
- Knead Dough: Remove the dough from the bowl and knead on a surface 2–3 minutes until smooth but slightly tacky. Dust surface with flour only if dough is sticky.
- Rest Dough: Place dough back in the bowl and cover with a damp towel or silicone lid. Let it rest 20 minutes for a quick turnaround or at least 45 minutes for a supple dough.
- Shape Dough Rope: Knead dough a few times, create a hole in center, stretch and rotate to form a large ring, then cut into a thick rope about 1 1/2 inches in diameter.
- Portion Dough: Cut 5 small pieces from the rope, about 12 to 13 grams each (1 tablespoon); for larger dumplings, use 14 to 16 grams per piece.
- Form Balls and Discs: Roll each piece into a ball, then flatten with your palm into a disc about 1 1/2 inches in diameter and dust lightly with flour.
- Roll Wrappers: Using a rolling pin, roll each disc evenly with 2 revolutions, rotating 90 degrees each time. If dough sticks, dust with flour.
- Thicken Center and Thin Edges: For the third revolution, roll only halfway before rotating to keep the center thicker to prevent filling breakage.
- Final Edge Rolling: On the last revolution, roll only the edges about 1/2 inch to thin out edges without over-thinning the center.
- Set and Cover: Flour the wrapper lightly and cover with a dry towel as you roll out the remaining discs. Roll no more than 5 wrappers at once to prevent drying.
- Store Wrappers: For later use, brush rolled wrappers with potato or tapioca starch before stacking. Wrap tightly with plastic wrap and refrigerate up to 2 days or freeze up to 1 month, preventing freezer burn.
Notes
- Flour measurement varies slightly based on scooping method. Spoon-and-sweep method yields more flour, resulting in firmer dough.
- Water should be very warm (110ºF to 130ºF) to help hydrate the dough properly.
- Using your fingers to claw into the dough helps evenly distribute moisture for better dough texture.
- Longer resting time (45 minutes or more) makes dough more supple and easier to roll out thinly.
- Do not roll out too many wrappers at once to avoid drying; 5 at a time is ideal when working solo.
- Potato starch or tapioca starch prevents wrappers from sticking when stored.
- Adjust dough piece weight if you want larger or smaller dumpling wrappers.
- If dough is too sticky during kneading, add minimal flour just to manage stickiness without toughening the dough.
Keywords: dumpling wrappers, dumpling dough, homemade dumplings, Chinese dumplings, dough recipe, dumpling skins