Homemade Ghee: How to Make Clarified Butter at Home Recipe
Introduction
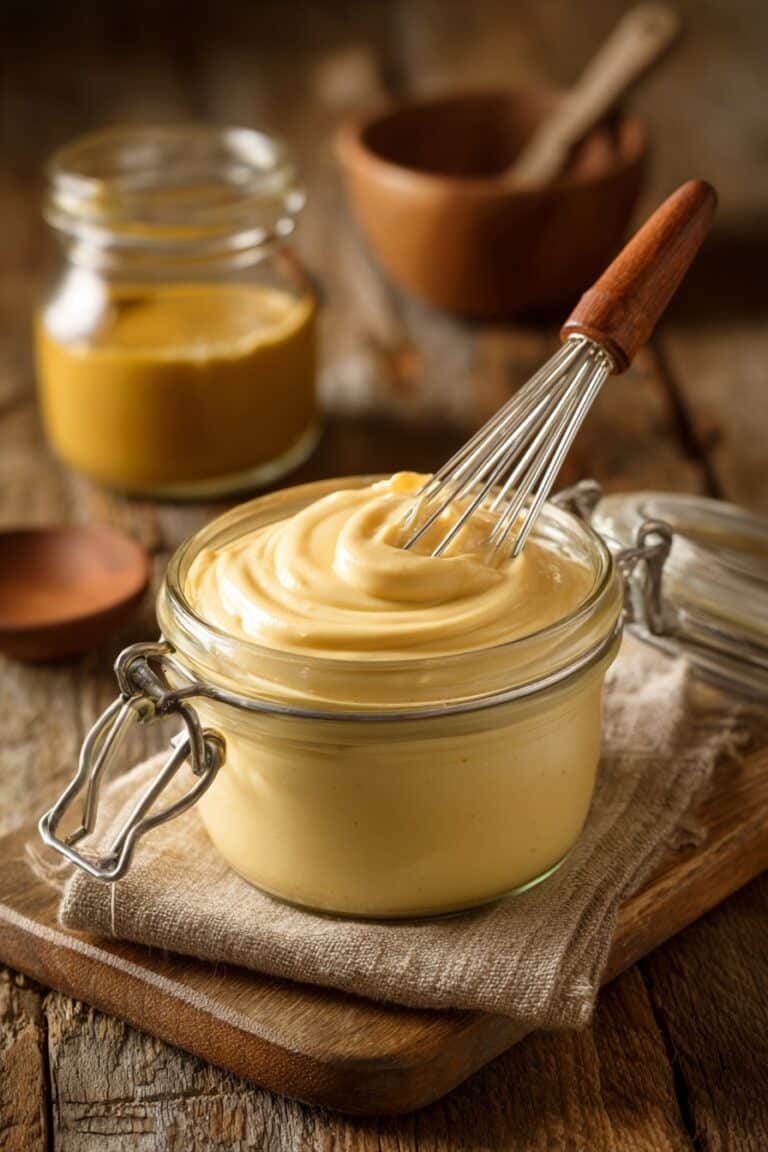
Ghee is a type of clarified butter with a rich, nutty flavor that’s perfect for cooking and adding depth to many dishes. Making it at home is simple and yields a delicious, long-lasting cooking fat.
Ingredients
- 250g unsalted butter
Instructions
- Step 1: Heat the butter in a small, sturdy pan over low heat. Cook without stirring for 15-20 minutes, until the milk solids begin to brown and the butter turns golden.
- Step 2: Turn off the heat and let the pan sit undisturbed for a few minutes.
- Step 3: Line a metal sieve with muslin or strong kitchen paper and place it over a heatproof bowl.
- Step 4: Carefully pour the melted butter through the sieve, leaving the browned milk solids in the pan. Allow the liquid to drip through fully.
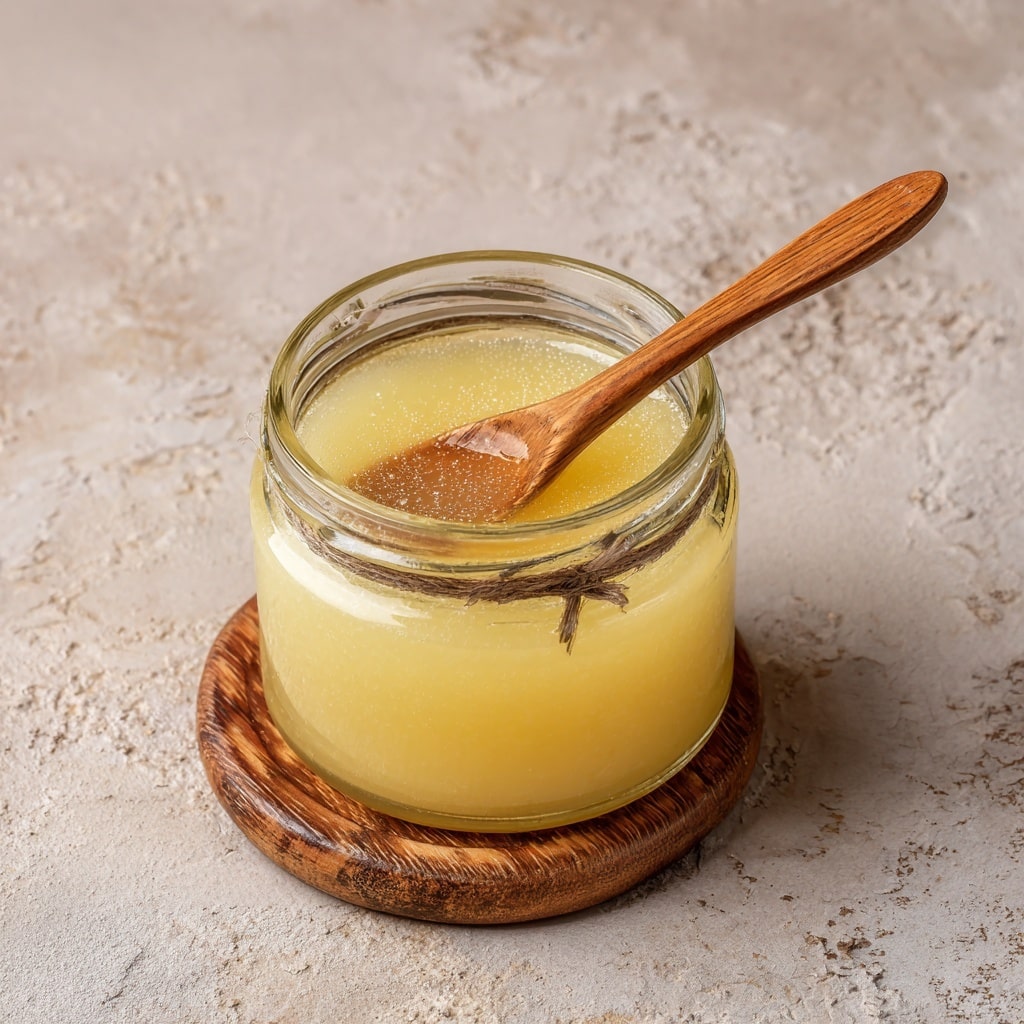
- Step 5: Transfer the strained ghee to a clean jar. It is now ready to use or store.
Tips & Variations
- Use unsalted butter to avoid any unwanted salt in the ghee and control the flavor precisely.
- For a slight flavor twist, you can add a few peppercorns or a bay leaf to the butter while it cooks and strain them out with the solids.
Storage
Because ghee contains no moisture or milk solids, it can be stored in an airtight jar at room temperature for up to three months. For longer storage, keep it in the refrigerator, where it will last even longer without losing flavor. To use refrigerated ghee, simply scoop out the amount you need; it softens quickly at room temperature.
How to Serve
Serve this delicious recipe with your favorite sides.
FAQs
Can I use salted butter to make ghee?
It’s best to use unsalted butter to keep control over the salt content and to avoid interference with the ghee’s pure flavor.
What is the difference between ghee and regular clarified butter?
Ghee is cooked longer than clarified butter, allowing the milk solids to brown slightly, which gives ghee its distinctive nutty taste and aroma.
PrintHomemade Ghee: How to Make Clarified Butter at Home Recipe

Ghee is a rich, golden clarified butter made by gently simmering unsalted butter to remove milk solids and moisture, resulting in a pure buttery fat that offers a nutty flavor and extended shelf life. Perfect for cooking, sautéing, or as a flavorful addition to dishes, homemade ghee is a staple in many cuisines.
- Prep Time: 5 minutes
- Cook Time: 20 minutes
- Total Time: 25 minutes
- Yield: Approximately 200g of ghee 1x
- Category: Condiment
- Method: Stovetop
- Cuisine: Indian
- Diet: Gluten Free
Ingredients
Ingredients
- 250g unsalted butter
Instructions
- Heat the butter: Place the 250g of unsalted butter in a small, sturdy pan over low heat. Allow it to melt slowly without stirring, cooking gently for 15-20 minutes until the milk solids settle and begin to brown, and the butter turns a golden color.
- Rest the butter: Once browned, turn off the heat and leave the pan undisturbed for a few minutes to allow any remaining solids to settle.
- Strain the ghee: Line a metal sieve with muslin cloth or strong kitchen paper and place it over a heatproof bowl. Carefully pour the melted butter through the sieve, ensuring the browned milk solids stay in the pan. Let the liquid drain completely to separate pure ghee from solids.
- Store: Transfer the strained ghee into a clean jar. Since ghee contains no moisture or milk solids, it can be stored at room temperature for up to three months or refrigerated for longer shelf life.
Notes
- Use unsalted butter for best control over flavor and shelf life.
- Maintain low heat to prevent burning the milk solids too quickly.
- The browned milk solids left in the pan can be discarded or used in cooking for a nutty flavor.
- Ensure jars are sterilized before storing ghee to avoid contamination.
- Ghee has a high smoke point, making it excellent for frying and sautéing.
Keywords: Ghee recipe, clarified butter, homemade ghee, Indian cooking fat, cooking fat, butter substitute